Honda Pioneer Bolt Pattern Guide & Specs
What is the Honda Pioneer bolt pattern? It’s vital to know this when you’re picking new wheels for your UTV.
The wheel bolt pattern of your Honda Pioneer plays a big role in how well it performs and how safe it is.
Here, you’ll find all you need to know about the bolt patterns for different Honda Pioneer models.
This includes specs and tips for keeping your wheels and tires in great shape. We’re going to look at the different bolt patterns in the Honda Pioneer series.
You’ll learn what specs are important when you’re buying new aftermarket wheels. Being knowledgeable about your Honda Pioneer specs helps you make smart choices.
This ensures your UTV gets a good upgrade and lasts longer. Let’s get into what a bolt pattern is and why it matters for your wheel choices.
What is The Importance of Bolt Pattern in UTVs?
The bolt pattern of a UTV, like the Honda Pioneer, is very important for safety and good performance.
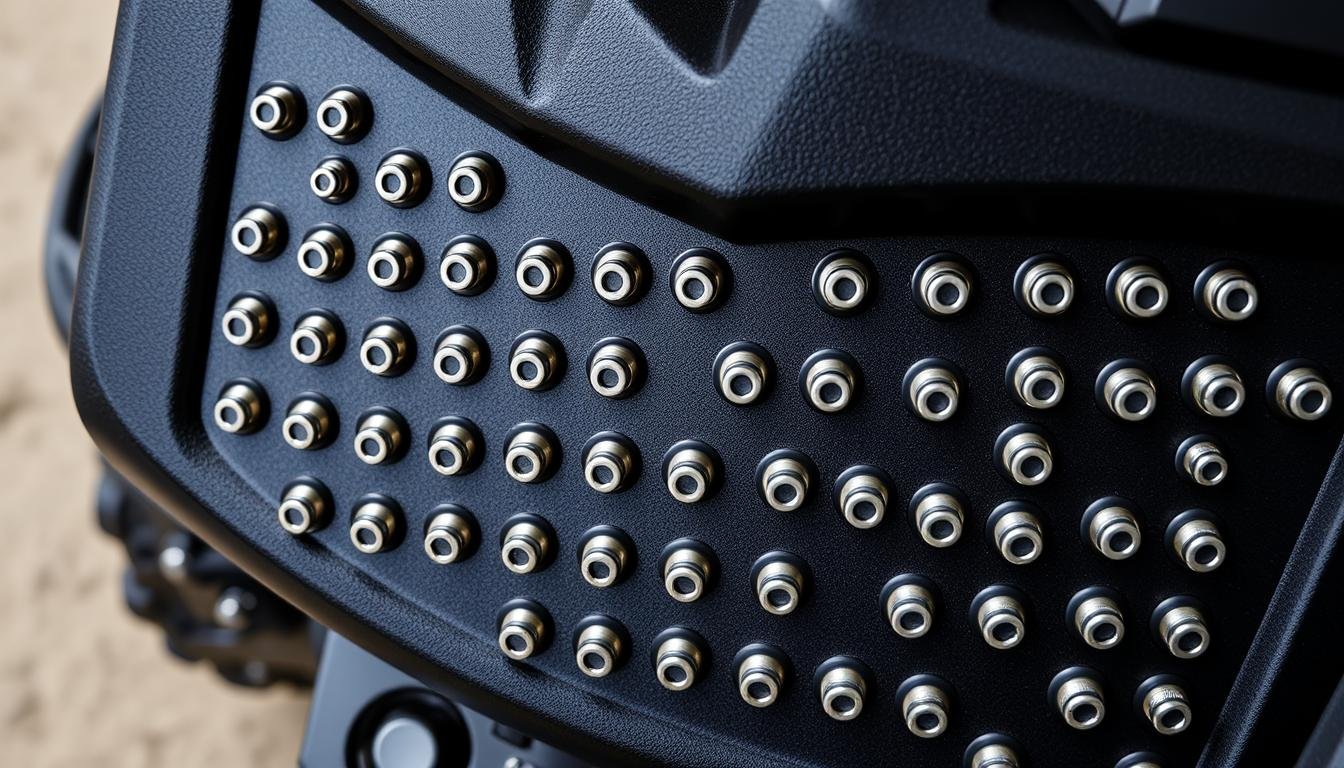
It describes how bolt holes are arranged on the wheel hub, usually shown as numbers like 4×110 or 4×137.
Knowing your UTV’s bolt pattern makes sure you choose the right wheels to match, like the specific honda pioneer lug pattern.
Choosing the right bolt pattern prevents wheels from being misaligned. This misalignment can cause tires to wear out unevenly and poses safety risks while driving.
It’s crucial when picking new or aftermarket wheels to check if they fit your UTV’s wheel specs properly.
Wrong bolt patterns can lead to big problems, hurting both the UTV’s performance and your confidence driving on different terrains.
Knowing these wheel specs helps you enjoy your UTV more. It keeps you safe which should always come first.
Overview of Honda Pioneer Models
The Honda Pioneer lineup offers different models for various needs. The Pioneer 500, 700, and 1000 are especially popular.
They’re crafted for activities ranging from fun rides to tough work. The Honda Pioneer 500 is small but mighty, perfect for tight spots but still powerful.
It’s a top pick for those who need a strong, agile vehicle. Then, there’s the Pioneer 700. It has more space and can carry more, yet it’s still easy to handle.
It’s great for those who want a vehicle that’s good for work and fun. The Pioneer 1000 is for those who need the most power and stability. Built for challenging tasks and adventures, it offers advanced features.
Knowing about these models helps you pick the right one for you, especially when considering specifics like bolt patterns, tire sizes, and weight limits.
| Model | Engine Type | Passenger Capacity | Cargo Capacity |
|---|---|---|---|
| Pioneer 500 | 500cc Liquid-Cooled | 2 | 1000 lbs |
| Pioneer 700 | 675cc Liquid-Cooled | 3 | 1000 lbs |
| Pioneer 1000 | 999cc Liquid-Cooled | 4 | 1500 lbs |

Honda Pioneer Bolt Pattern: Key Specifications
Getting the right wheels for different Honda Pioneer models means understanding their bolt patterns.
Each model has unique specs that match its design and use. Here, you’ll find the main bolt patterns for Honda Pioneer vehicles.
Honda Pioneer 500 Bolt Pattern
The Honda Pioneer 500’s bolt pattern is 4×110. This lets the Pioneer 500 use many aftermarket wheels.
Knowing this bolt pattern is key to making the right choices and keeping things compatible.
Honda Pioneer 700 Bolt Pattern
Similarly, the Honda Pioneer features a bolt pattern of this matching specification not only facilitates easy wheel swaps but also enhances availability options when sourcing rims and tires.
It’s important to choose wheels that fit this spec for the best performance and compatibility.
Honda Pioneer 1000 Bolt Pattern
The Honda Pioneer 1000 stands out with a bolt pattern of 4×137. This is key for those needing wheels for heavy loads and tough tasks.
When looking for new wheels or upgrades for the Pioneer 1000, remember this spec to support your vehicle right.

Specifications For Honda Pioneer Wheels and Rims
Knowing the right specs for Honda Pioneer wheels and rims adds to performance and safety.
If you have a Honda Pioneer 500, 700, or 1000, it’s key to choose parts that fit right and boost your ride.
Standard Rim Size For Different Models
The rims for all Honda Pioneer models measure 12 inches in diameter for front and back wheels.
They also have a width of 7 inches. This makes it easier to find the right size for replacements or upgrades.
Lug Nut Size and Specifications
All Honda Pioneer models use 12mm lug nuts with a thread pitch of 1.5. This means you can use the same lug nuts across all models, from the 500 to the 1000.
The correct lug nut specs make installation easy and ensure a tight fit.

Comparing Honda Pioneer Aftermarket Wheels
Investing in Honda Pioneer aftermarket wheels can level up your off-road experience. You’ll find benefits like better looks, tougher wheels, and personalized driving feel.
With many choices out there, finding the right wheels allows you to tweak your Honda Pioneer’s performance to match your needs.
Benefits of Aftermarket Wheels
Aftermarket wheels have several key advantages:
- Aesthetic Enhancement: New wheels can make your vehicle look better.
- Increased Strength: They’re made from strong materials, perfect for off-road use.
- Custom Handling: You can pick wheels that change how your vehicle handles.
- Weight Reduction: Lighter wheels help with faster acceleration and better steering.
Top Aftermarket Wheel Options For Honda Pioneer
Several brands make awesome Honda Pioneer aftermarket wheels for various models. Here are the best picks:
| Brand | Material | Weight (lbs) | Compatibility |
|---|---|---|---|
| Method Wheels | Aluminum Alloy | 15 | Pioneer 500, 700, 1000 |
| System 3 Off-Road | Steel | 18 | Pioneer 500, 700 |
| ITP Wheels | Aluminum Alloy | 14 | Pioneer 1000 |
| Vision Wheel | Aluminum Alloy | 16 | Pioneer 700, 1000 |

Knowing Wheel Offsets and Spacers
Modifying your UTV starts with knowing about wheel offsets and spacers. The wheel offset is how far the wheel’s center is from where it attaches to the hub.
It changes how your UTV handles, making it either more stable or less so.
What are Wheel Offsets?
There are three kinds of wheel offset: positive, negative, and zero. Positive offset means the wheel is closer to the inside of the UTV.
This can make the UTV more aerodynamic but might limit tire size. On the other hand, negative offset places the wheel further out, giving a wider stance and possibly better grip.
A zero offset has the wheel’s centerline right at the mounting point. Picking the right honda pioneer wheel offsets for your model is crucial.
The correct choice boosts performance on tough terrains and makes rides more stable and fun.
Choosing The Right Wheel Spacers
Wheel spacers change how your UTV looks and drives. They create space between the wheel and hub, leading to better stability in turns.
When you’re picking spacers, think about any lifts, the size of your tires, and what offset works for your honda pioneer.
You should look up the maker’s specs to pick the best spacers. Below is a guide for choosing wheel spacers based on your vehicle’s specifics:
| Spacer Thickness (inches) | Offset Type | Ideal Use Case |
|---|---|---|
| 1/2 | Positive | Increase stability on flat terrain |
| 1 | Negative | Wider stance for better traction |
| 1.5 | Zero | Balancing tire clearance and handling |
Choosing the right honda pioneer wheel offsets and spacers can greatly improve your UTV. Make smart choices for safety and to get the best out of any terrain.
How To Properly Measure Bolt Patterns?
Measuring your Honda Pioneer’s bolt pattern is key to finding the right wheels. First, count the bolt holes on your wheel.
Then, get ready to measure your UTV wheel carefully. To measure, you can use a caliper or a ruler. Measure the distance between the centers of two opposite bolt holes.
If the holes don’t line up straight, like in 5-hole patterns, measure from one hole’s center to the next.
Then, multiply your result by 1.1547 to find the correct bolt pattern size. Correct measurement ensures your new wheels will fit perfectly and work great.
Common Issues When Changing Wheels?
When you choose to swap wheels on your Honda Pioneer, you might bump into a few usual problems.
It’s important to tackle these issues quick to keep your ride smooth and safe. The main things to watch out for are wheel misalignment and checking if the bolt patterns fit.
Knowing about these problems helps you make better choices for your vehicle.
Misalignment Problems
Changing wheels can sometimes lead to misalignment. This happens when the new wheels don’t align right with your Honda Pioneer’s specs.
If the wheels are not aligned, it can make the tires wear out unevenly. This might affect your driving and safety.
So, it’s important to check the alignment of your wheels after you change them. This ensures your vehicle performs at its best.
Compatibility with Bolt Patterns
Making sure the new wheels’ bolt patterns fit your Honda Pioneer is crucial before you buy them.
If they don’t match, it could cause problems, like a bad fit or even an accident. Always check that the new wheels will fit your model based on their bolt pattern.
Maintaining Your Honda Pioneer: Best Practices
Keeping your Honda Pioneer in top shape is key. This means checking your wheels and tires often. If you skip this step, you might face big safety and handling issues.
Regular Checks on Wheels and Tires
It’s important to regularly check your tires for any signs of wear. Make sure they have the right air pressure and are aligned well.
Look for uneven wear, which could mean there are alignment or balance problems. A well-kept maintenance log helps you keep track of all this info and any repair jobs.
Choosing The Right Tires For Your Model
Picking the right tires for your Honda Pioneer is crucial. They should fit what the model needs and how you plan to use it.
This could be for work, fun, or racing. Choosing wisely not only improves how your vehicle performs but also its lifespan. That way, you’ll enjoy your UTV for longer.
Conclusion
The Honda Pioneer series offers a range of models for different needs in utility and performance.
By knowing the specs like bolt patterns and wheel options, you can choose wisely. This knowledge helps you match your UTV with the right aftermarket parts for better upgrades.
Keeping your UTV in top shape is key to its performance and longevity. Follow a maintenance plan that includes checking wheel alignment and tire health.
This guide’s tips on Honda Pioneer specs help you care for your UTV well, making it more enjoyable to use.
Learning about your Honda Pioneer’s features and how to maintain it brings many benefits. It makes your vehicle more dependable and pleasing to use.
With the right information, you’re ready to handle maintenance or add-ons with confidence.
FAQs
Q: What is the bolt pattern for the Honda Pioneer 500?
A: The Honda Pioneer 500 has a 4×110 bolt pattern. This allows it to fit many aftermarket wheels designed for this pattern.
Q: Can I use the same lug nuts for the Honda Pioneer 700?
A: Yes, you can. The Honda Pioneer 700 uses 12mm lug nuts with a 1.5 thread pitch, the same as other models.
Q: What makes the bolt pattern of the Honda Pioneer 1000 different?
A: The Honda Pioneer 1000’s bolt pattern is 4×137. This is not the same as the 4×110 bolt pattern seen on the Pioneer 500 and 700. Make sure to buy compatible rims.
Q: Are there aftermarket wheels available for the Honda Pioneer?
A: Yes, you can find many aftermarket wheels for the Honda Pioneer. They are made to last and perform well on different terrains.
Q: How do I measure the bolt pattern on my Honda Pioneer?
A: To measure the bolt pattern, count the bolt holes. Then measure the distance between two opposing holes’ centers. Or you can use a caliper for different layouts.
Q: What are wheel offsets, and why are they important?
A: Wheel offsets are the gap between the wheel’s centerline and where it mounts to the hub. A correct offset is key for the right alignment and steering of your vehicle.
Q: What are common issues I should watch for when changing wheels?
A: Look out for problems like misalignment from not using the right bolt patterns or offsets. These mistakes can cause uneven tire wear and trouble with steering.